
















For wood and filler P240 is already "fine". For automotive clear coat, fine starts at P1000: this is the grit that removes orange peel, dust and runs, and the job ends at P2000–P3000 so the compound brings out the final gloss. We explain what exactly each number does and where its place in the chain is.
Why a car needs such fine sandpaper
The clear coat on a car body is only a few tens of microns. Any defect in it — a dust nib that landed on fresh clear coat, a run on a vertical panel, "orange peel", a scratch from washing — is removed not by repainting but by removing a micron layer followed by polishing. That is what the P1000–P3000 grit zone is for: the grain is so fine that it leaves scratches which polishing compound reduces to nothing.
Typical jobs in this zone:
- levelling orange peel after painting — so the surface becomes a "mirror";
- removing dust nibs and runs in the clear coat without repainting the panel;
- removing scratches and holograms that the compound alone cannot take out;
- matting for a "blend" in a spot repair, so the new clear coat bonds to the old one;
- headlight restoration— removing the yellowed polycarbonate layer before polishing.
Table: grit → job → next step
| Grit | What it does on clear coat | How to work | Next step |
|---|---|---|---|
| P600–P800 | Matting old coating for repainting, removing primer defects, the first stage of headlight restoration | Wet, on a block | P1000 |
| P1000 | Orange peel, runs, dust on fresh clear coat; matting for a spot repair | Wet, on a hard block for runs, on a soft one for orange peel | P1500 or P2000 |
| P1500 | Removing P1000 scratches, fine scratches | Wet, soft block or machine with an interface pad | P2000 |
| P2000 | The last stage before polishing: levels the scratches to a state the compound removes completely; headlights | Wet, no pressure | Abrasive compound |
| P2500–P3000 | Dark and black colours, soft clear coats: a finer trace, less polishing and a lower risk of holograms | Wet, machine with a soft interface pad | Finishing compound |
Why wet sanding only
P1000 paper and finer works with water — that is why this zone uses waterproof silicon-carbide paper on a waterproof cloth backing. (Dry film discs P1500–P3000 for random-orbit sanders are a separate technology with its own rules.) Water does three things at once:
- washes out the slurry— dry clear-coat dust instantly clogs fine grain and leaves lumps and scratches on the surface;
- cools the clear coat— without water, friction softens the coating and the grain "smears" it instead of removing it;
- shows the result— a wet surface lets you see at once where a defect still remains.
Add a drop of detergent to the water: the paper glides more evenly and takes longer to clog. Change the water often — dirty water puts the slurry back on the surface.
Technique: block, hand or machine
- Hard block— for runs and dust nibs: it cuts the top of the defect without touching the surface around it. Short strokes until the bump is level.
- Soft block or rubber pad— for orange peel: even pressure over the area, cross-hatched strokes so the scratches do not all run one way.
- Hand without a block— only on curved elements and for local matting: fingers press unevenly, and waves appear on a flat surface.
- Random-orbit sander with a soft interface pad — for P1500–P3000 on large areas; minimal pressure, low speed, constant water feed.
Assess the surface after each stage: wipe it dry and look at it at an angle to the light. The matt field must be uniform, without shiny "islands" — those are traces of a defect not yet removed.
Common mistakes
- Skipping a step. Polishing straight after P1000 takes long, with overheating and holograms. Skipping P1000 and starting with P2000 on orange peel is just as useless: the grain does not take the defect.
- Dry sanding with waterproof paper. The paper clogs in seconds and the clear coat overheats.
- Too much pressure. Fine grain must glide: pressing hard does not speed up the work, it only pushes the scratches deeper.
- Sanded-through ridges. On edges and ridges the clear coat is thinnest — mask them with tape and work around them.
- Working on uncured clear coat. Sand only after full curing per the material's data sheet, otherwise the grain "tears" the coating.
NovoAbrasive waterproof paper
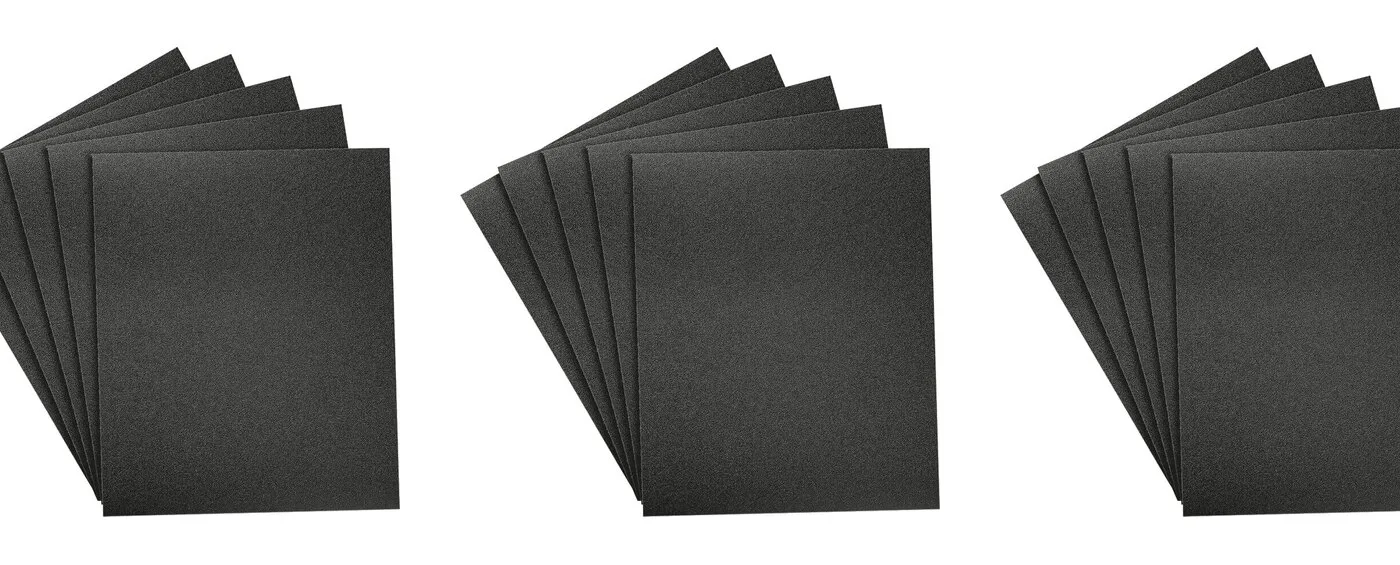
For car body repair NovoAbrasive makes waterproof silicon-carbide sanding paper in 230×280 mm sheets in grits P600, P800, P1000 and P2000 — in packs of 50 sheets. The waterproof cloth backing withstands long work with water and does not delaminate. A sheet is easy to cut into quarters for a block.
Separate pages with advice on each grit: sandpaper P1000 and sandpaper P2000. Grits P1500 and P2500–P3000 are not in the sheet range at present: in practice you go straight from P1000 to P2000, and then polishing compound.
Frequently asked questions
Can I polish straight after P1000?
Yes, but the P1000 scratches are deep: polishing will take much longer, with overheating of the clear coat and a risk of holograms. The standard chain is P1000 → P2000 → abrasive compound.
P2000 or P3000 before polishing?
For most colours and clear coats P2000 is enough. P3000 is used for black and dark colours and soft clear coats, where every scratch shows: the trace after it is finer and the compound works less.
Is P1000 sandpaper used dry?
No. Waterproof P1000 paper is designed for wet sanding: water washes out the slurry and cools the clear coat. Dry, the grain clogs after a few strokes and leaves scratches.
How to remove a clear-coat run?
Wait for full curing, cut the top of the run with a hard block and P800–P1000 wet, level the surface with P2000 and polish. Work only on the defect itself without widening the area.
Which sandpaper for headlight restoration?
The yellowed layer is removed with P600–P800 wet, then levelled with P1000 and P2000, then polished with compound. If the headlight is only slightly dull, start straight with P1000.
NovoAbrasive waterproof sandpaper
230×280 mm silicon-carbide sheets, P600–P2000, packs of 50 sheets. Wholesale prices from the manufacturer.
Go to the catalog