Diamond polishing shell — wholesale from the manufacturer
Flexible diamond polishing discs (shells) for wet and dry polishing of granite, marble, concrete and artificial stone. Grits from P30 to P3000.
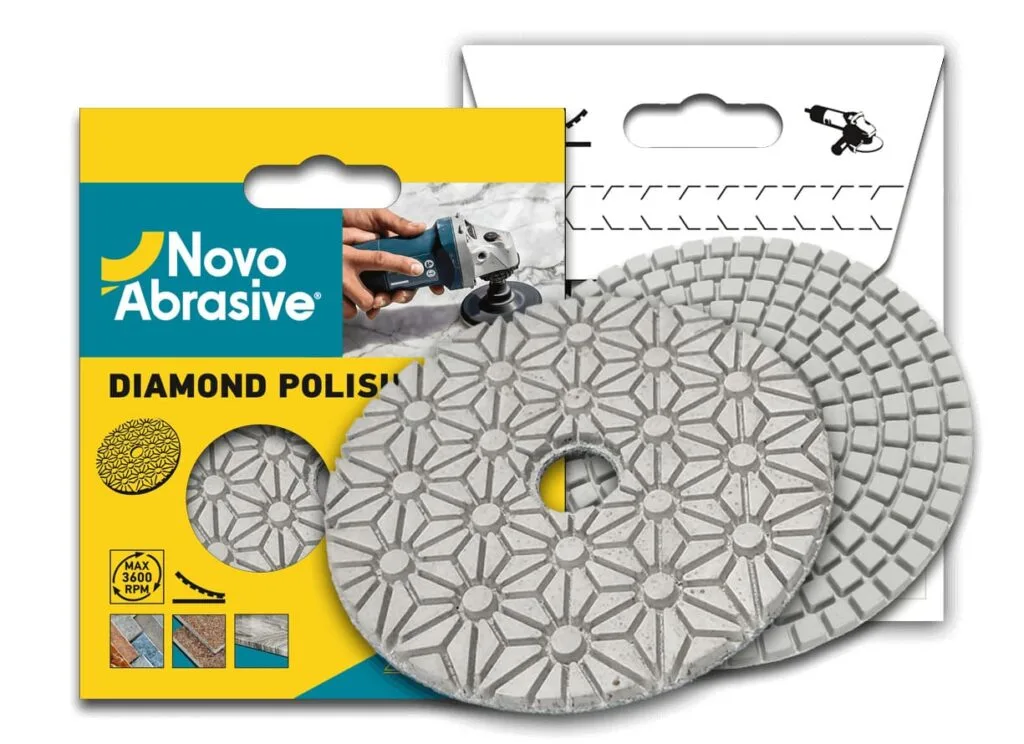
What are NovoAbrasive diamond polishing discs (shells)?
Diamond polishing discs (flexible Diamond discs, "shells") NovoAbrasive are a tool for step-by-step polishing of natural and artificial stone. Each disc has a specific grain size, and sequential use from coarse to fine gives a mirror shine.
Hook & Loop fastening allows for quick disc changes on the backing pad. Diameters 100 and 125 mm. Wet processing is recommended for best results and durability of the diamond layer.
Products in the category
15 products in the catalog - here are some of them
 PROFI
PROFI PROFI
PROFI PROFI
PROFI PROFI
PROFI PROFI
PROFI PROFI
PROFI PROFI
PROFI PROFI
PROFIFind the right product
Filter by parameters or use search
PROFI PROFI PROFI PROFI PROFI PROFI PROFI PROFI PROFI
PROFI PROFI
PROFI PROFI
PROFI PROFI
PROFI PROFI
PROFI PROFI
PROFI PROFI
PROFIWhat materials are suitable for
Choose the right tool depending on the material being processed
Granite
Step-by-step polishing from P50 to P3000 to achieve a mirror-like shine on granite countertops, window sills, and monuments.
Marble
Delicate polishing of marble surfaces with wet processing. From P100 for leveling to P3000 for finishing.
Artificial stone
Polishing quartz agglomerate, porcelain stoneware and composite materials to a perfectly smooth surface.
Concrete
Grinding and polishing concrete floors, steps and decorative elements made of polymer concrete.
Terrazzo and mosaic
Restoring the shine of decorative terrazzo and mosaic stone floors by step-by-step polishing.
Restoration
Restoration of damaged stone surfaces: removal of scratches, stains and restoration of original shine.
Technical parameters
Key features of NovoAbrasive diamond polishing discs
Useful guides
Articles and instructions for the correct selection and use of diamond polishing discs
Frequently asked questions
Answers to the most common questions about diamond polishing discs
Need a wholesale price?
Contact our sales department for a customized quote for diamond polishing discs.